Fuel tank model : Harley 883 Iron
Preparation
Step 1: Taking photos as much as different angles photos
Original fuel tank photos for photogrammetry
(This process requires an amount of different angles photos to get an exact shape.)
Step 2: Using photogrammetry (Autodesk recap) to generate 3D model
Once we got Photos for photogrammetry (recap), we used recap to create the 3D model of fuel tank. We give dimensions of physical model and remove unnecessary part.
Step 3: Using Slicer to get assembled templates for laser printing.
We input to Slicer to get assembled templates and we decide to make 30 pieces (15 vertical & 15 Horizontal).
Step 4: Using laser cutting machine to get assembled templates & Assembled together.
Laser cutting plywood
Process
Finished templates model
Step 5: Wrapping the model
Wrapping the whole surfaces to get smooth and enclosed faces.
Dividing the model into 3 pieces
Step 1: Pattern making
We used paper to get approximately shape of fuel tank and also we divide as 3 pieces of a fuel tank (1 model for 3 people).
Step 2: Cutting shapes into 3 pieces
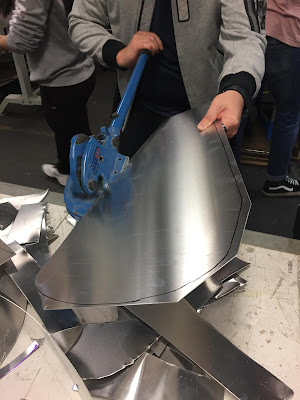
After cutting paper templates, we draw shapes into aluminum sheet.
Making a fuel tank
This is individual work. Once I got selected part, I need to do make a fuel tank with my knowledge from previous work.
Step 1: Hammering from inside to outside.
I hammered curving part (outer and centre) to ready to using an English Wheel.


댓글 없음:
댓글 쓰기