2018년 5월 17일 목요일

Assignment 2 : 1:1 Fuel Tank

Preparation material: Original fuel tank, Laser cutting templates, Aluminum sheet,


Fuel tank model : Harley 883 Iron


Preparation 

Step 1: Taking photos as much as different angles photos 


Original fuel tank photos for photogrammetry
(This process requires an amount of different angles photos to get an exact shape.)

Step 2: Using photogrammetry (Autodesk recap) to generate 3D model 


Once we got Photos for photogrammetry (recap), we used recap to create the 3D model of fuel tank. We give dimensions of physical model and remove unnecessary part.


Step 3: Using Slicer to get assembled templates for laser printing. 

We input to Slicer to get assembled templates and we decide to make 30 pieces (15 vertical & 15 Horizontal). 


Step 4: Using laser cutting machine to get assembled templates & Assembled together. 

Laser cutting plywood

Process 

Finished templates model 

Step 5: Wrapping the model 


Wrapping the whole surfaces to get smooth and enclosed faces. 


Dividing the model into 3 pieces

Step 1: Pattern making

We used paper to get approximately shape of fuel tank and also we divide as 3 pieces of a fuel tank (1 model for 3 people).


Step 2: Cutting shapes into 3 pieces

After cutting paper templates, we draw shapes into aluminum sheet.


Making a fuel tank

This is individual work. Once I got selected part, I need to do make a fuel tank with my knowledge from previous work. 

Step 1: Hammering from inside to outside. 

I hammered curving part (outer and centre) to ready to using an English Wheel. 


Step 2: Using an English wheel to get an exact shape with smooth surface.


Step 3: Repeating step 1 & 2 process to fit on assembled model.


Semi-finished model


Step 4: Assembled 3 parts into templates model to cut unnecessary parts


 Step 5: Finished model (Polishing the surface.)


2018년 3월 29일 목요일

BEIL0014 Digital Making Project 1 : The Blister - Week 5

This is week 5 process (The Blister)


Preparation material: Aluminum sheet, Template of blister shape


Step 1: Preparation 
Two sheets of wood templates should be clamped together so these two sheets bolted together (2 options: bolted may come through the metal sheet or not). Firstly, Loosely tight bolted and then you need to put the metal sheet between 2 sheets of wood templates like a sandwich. After that tight bolted as much as you can when you put the metal sheet in the centre. 


Step 2: Hammering from centre to side until getting the blister shape. 

It is a pretty much final step to get the blister shape. I started to hammering from centre to side. In centre part, you should keep hammering until the metal sheet becomes curve shape. Once you get enough deep curve in centre of blister.  You can move to the side part. In the side part, you should get a wood template which has a sharp shape in the head. Stand the wood template on every side of blister hammering to the wood template to get a line. After that, you need to keep hammering until getting the smooth surface. 


Step 3: Hammering on the edge to get a natural shape   

Once you reach to smooth surface, you need to focus on the edge. The edge part is the hardest part to get a shape of blister because it is so narrow to do hammering. Therefore, you need to find something to put on the edge. Hammering until you get the nice and neat blister shape. You need to repeat step 2 & 3 to reach a beautiful shape. 


Final product:


2018년 3월 21일 수요일

BEIL0014 Digital Making Project 1 : The Tray - Week 4

This is week4 process (The Tray)
This is group work (Work with Chen Li)

Preparation material: Aluminum Square sheet, template by laser cutting, wood (templates)


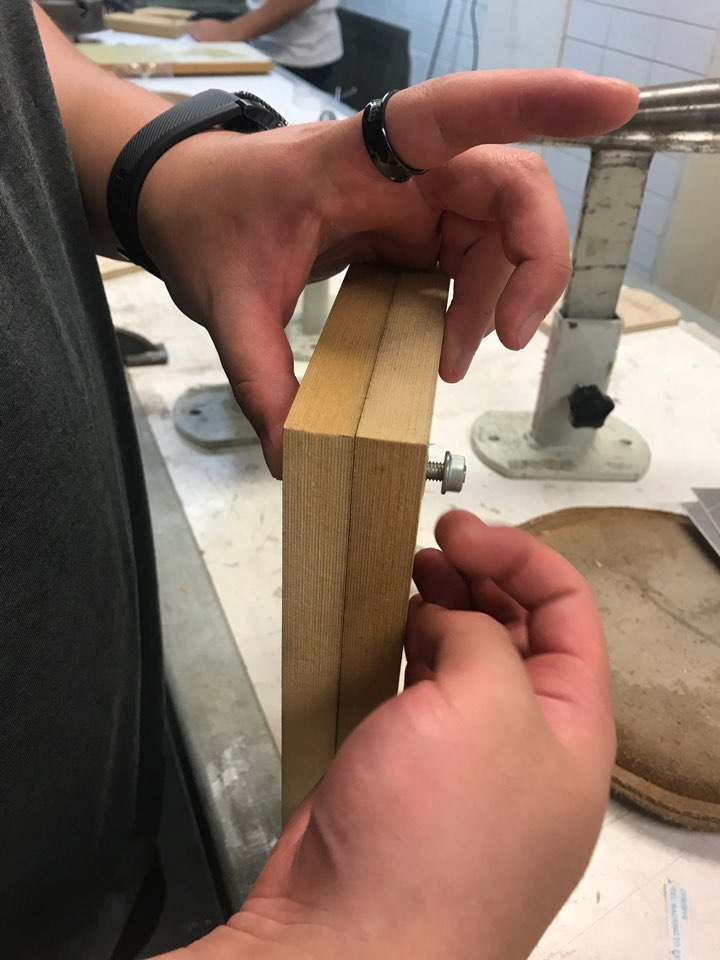
Step 1: Making wood template & Sanding wood template as fit on radius (30mm)

Using template which provides from a tutor, Draw radius (30mm) each side on wood template. Then Using sanding machine to cut it. If you want to get more smooth curve line, Using small sanding machine after sanding roughly. 


Step 2: Mark on aluminum sheet & Cut as radius 30mm every edge. 

The size of wood template is 180mm x 90mm so I decide to give 10mm each side on aluminum sheet(200mm x 110mm). Using steel pen to mark outline of tray on aluminum sheet. After that, Cutting aluminum sheet by outline, and sanding corner of it because it makes smooth curve line.   


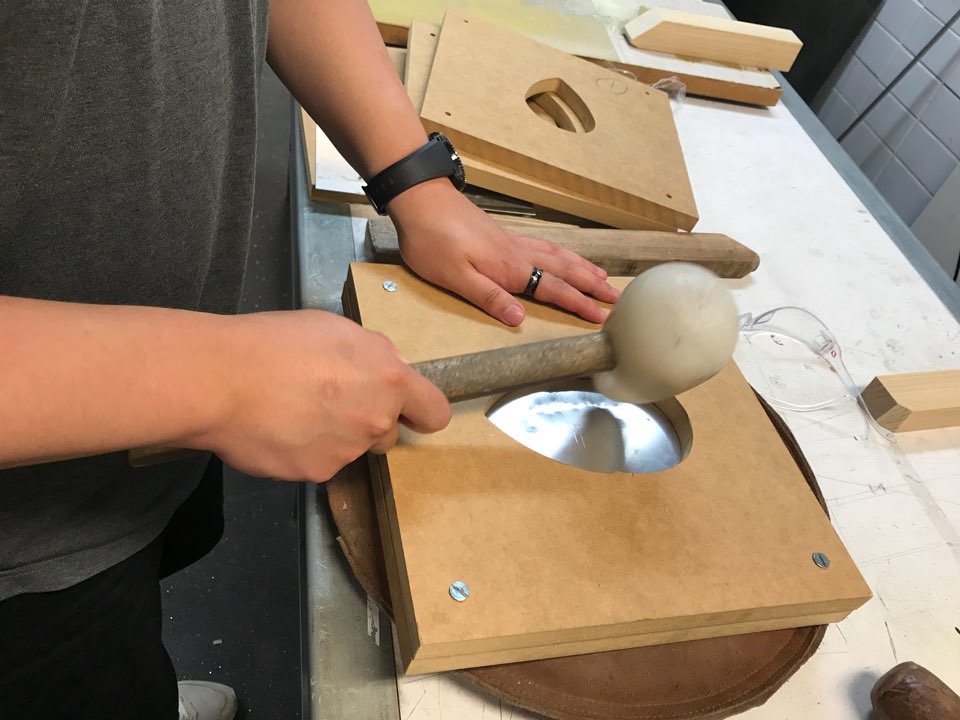
Step 3: Hammering until getting tray shape & Sanding corner of tray. 

It should be held by 2 wood templates like a sandwich. (Caution: It should be tight to hold as much as you can. If not, the aluminum sheet is going to slide to down while hammering). It need to do hammering as smooth (not powerful). After that sanding every corner to make a flat.


Final product: