Preparation material: Aluminum sheet, Template of blister shape
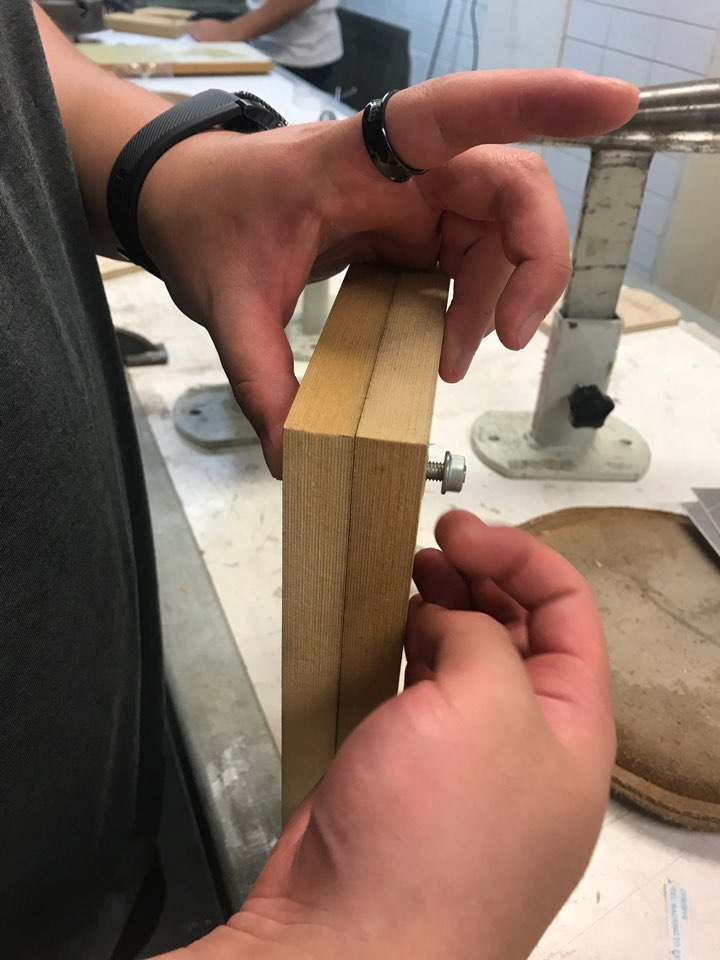


Step 1: Preparation
Two sheets of wood templates should be clamped together so these two sheets bolted together (2 options: bolted may come through the metal sheet or not). Firstly, Loosely tight bolted and then you need to put the metal sheet between 2 sheets of wood templates like a sandwich. After that tight bolted as much as you can when you put the metal sheet in the centre.
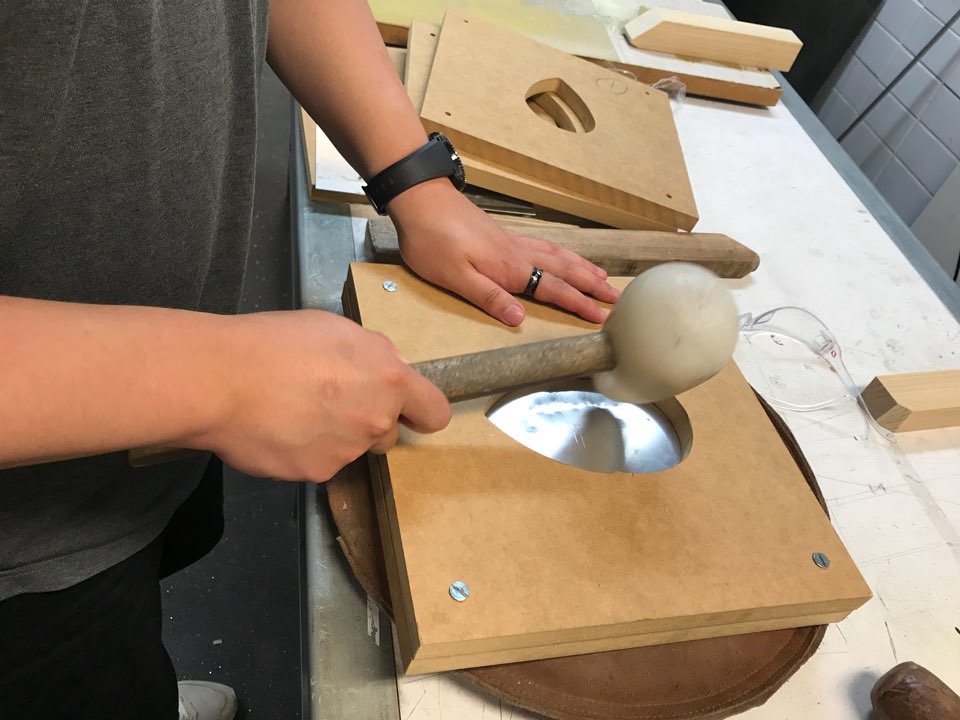


Step 2: Hammering from centre to side until getting the blister shape.
It is a pretty much final step to get the blister shape. I started to hammering from centre to side. In centre part, you should keep hammering until the metal sheet becomes curve shape. Once you get enough deep curve in centre of blister. You can move to the side part. In the side part, you should get a wood template which has a sharp shape in the head. Stand the wood template on every side of blister hammering to the wood template to get a line. After that, you need to keep hammering until getting the smooth surface.


Step 3: Hammering on the edge to get a natural shape
Once you reach to smooth surface, you need to focus on the edge. The edge part is the hardest part to get a shape of blister because it is so narrow to do hammering. Therefore, you need to find something to put on the edge. Hammering until you get the nice and neat blister shape. You need to repeat step 2 & 3 to reach a beautiful shape.
Final product:


댓글 없음:
댓글 쓰기